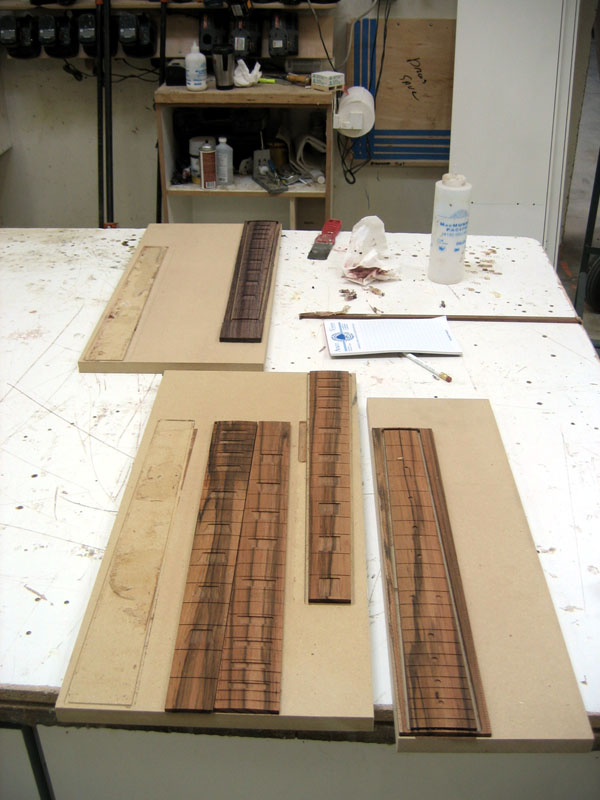
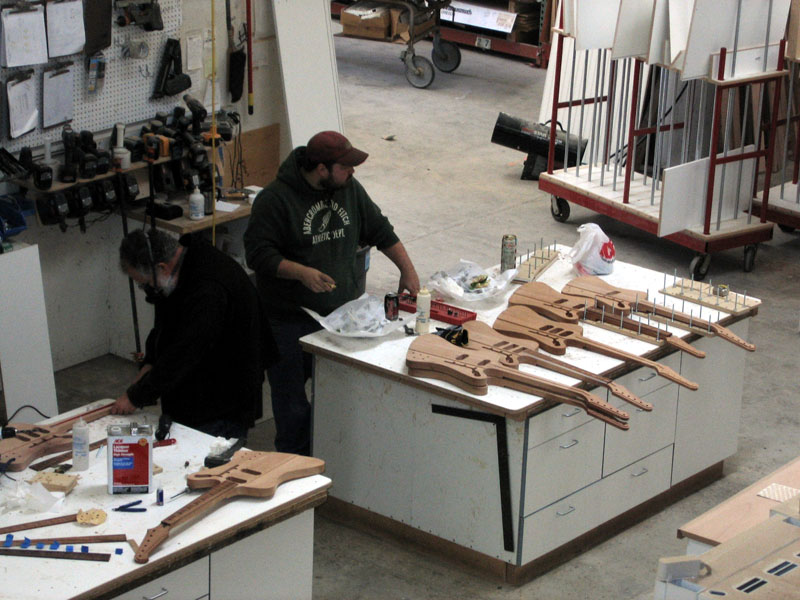
It's sunday, so we all know what means, guitar time! I had the full "crew" (of volunteers) again today... Steve, Dave and Danny. Today we started shaping necks on this batch of Firebirds. Everyone brought guitars they liked and we set off.
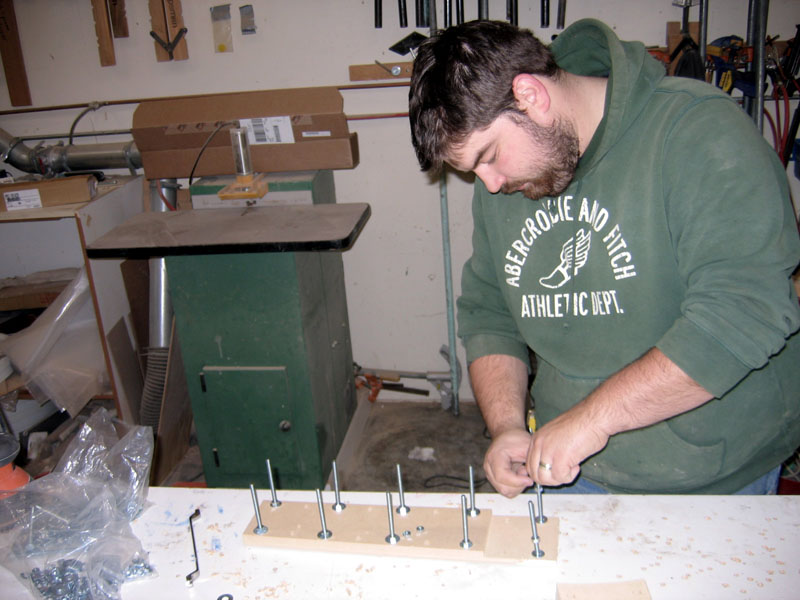
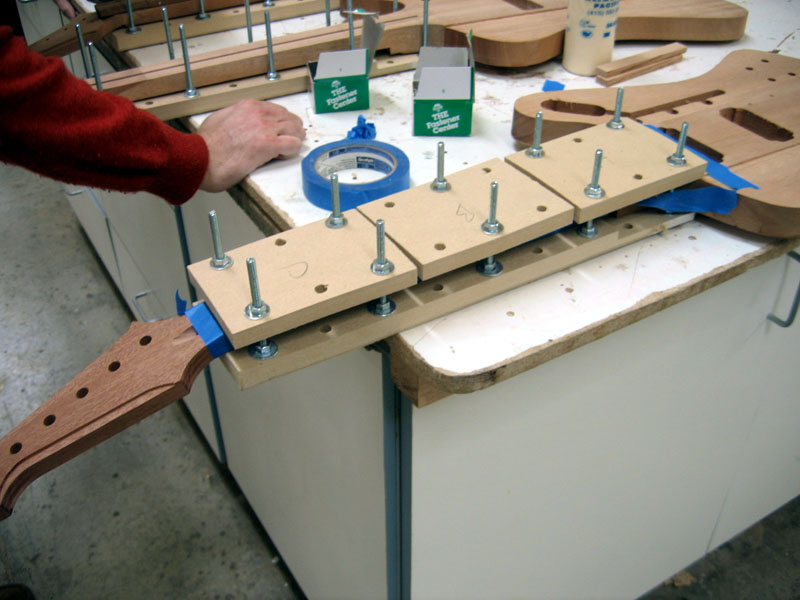
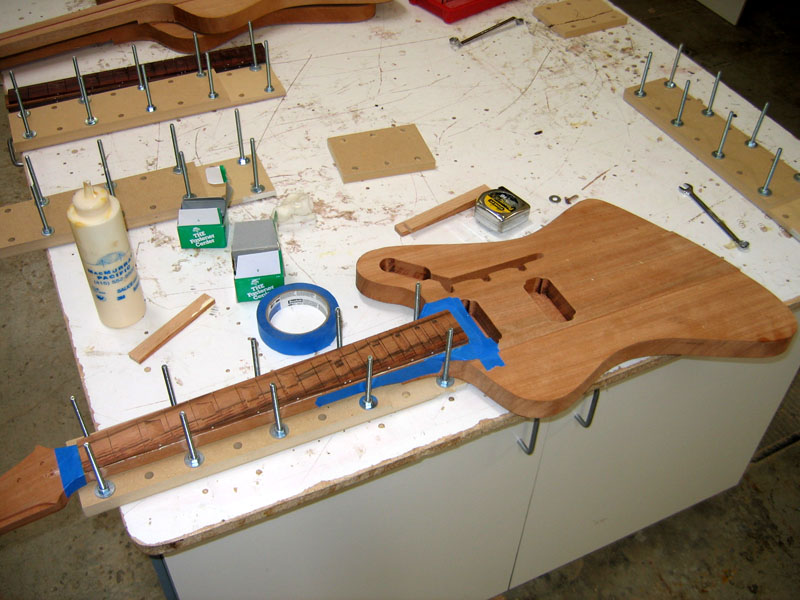
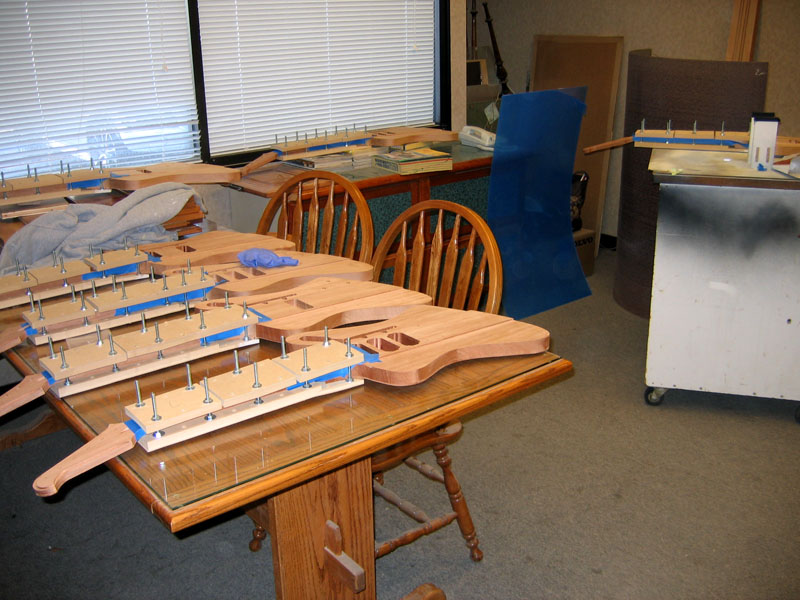
 First I had to build a rack to hold all these finally... was a fun side project. I probably way over built it but I ALWAYS do.
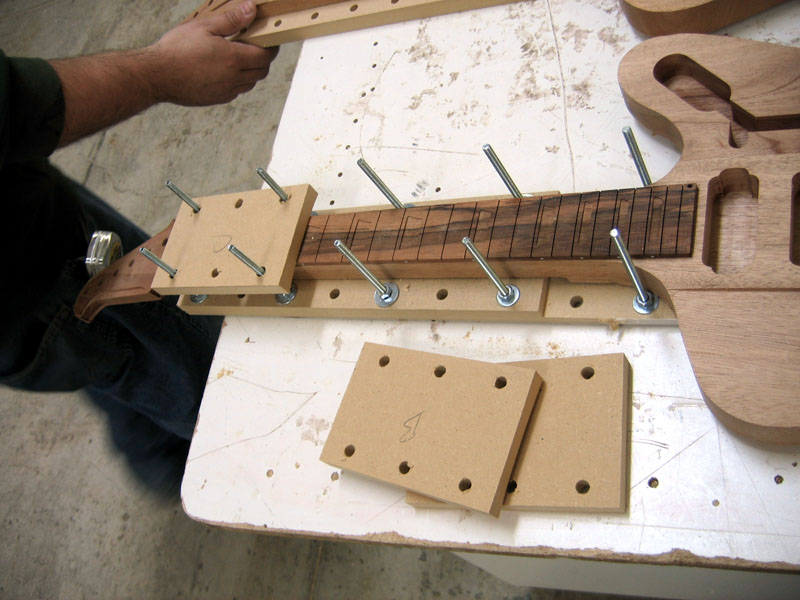
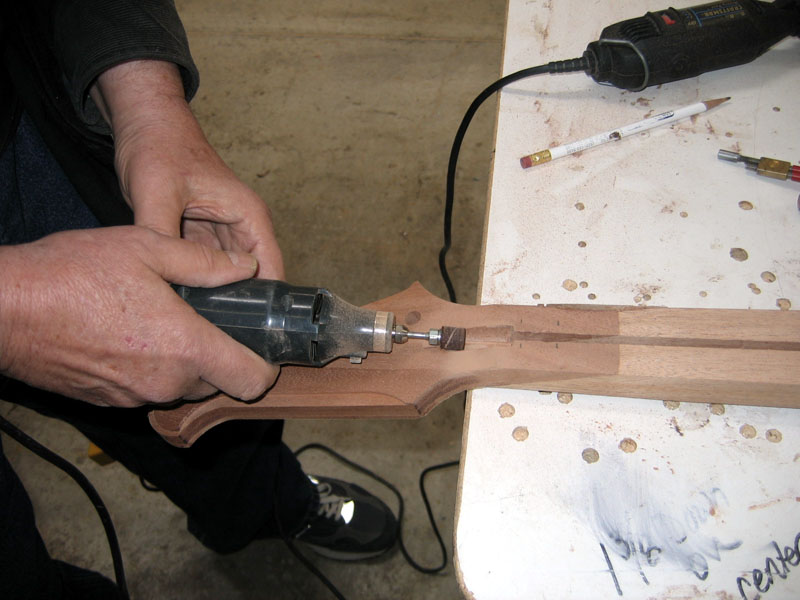
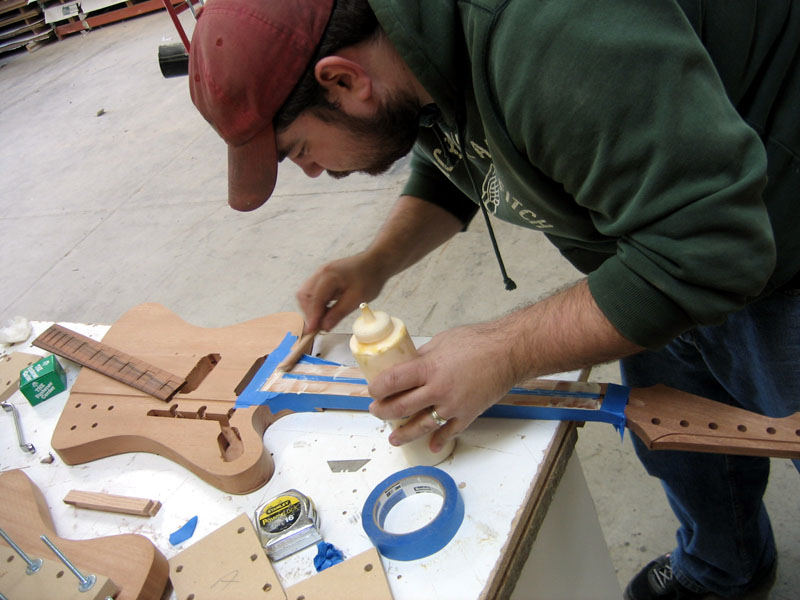
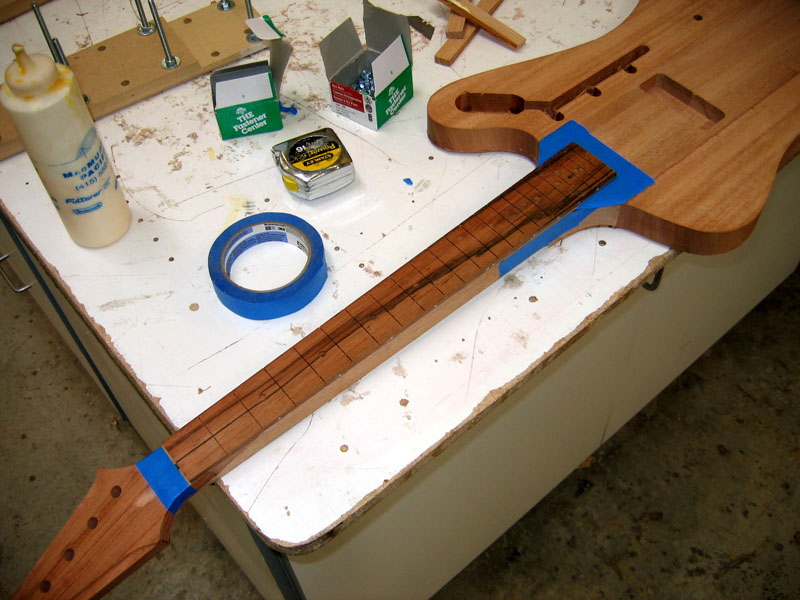
 Since we already back cut the necks to the general thickness I grabbed the trusty microplane attachments. They are like cheese graters that hook on our palm sanders. They work great for roughing in the neck profile.
 Here I am starting to rough one in.
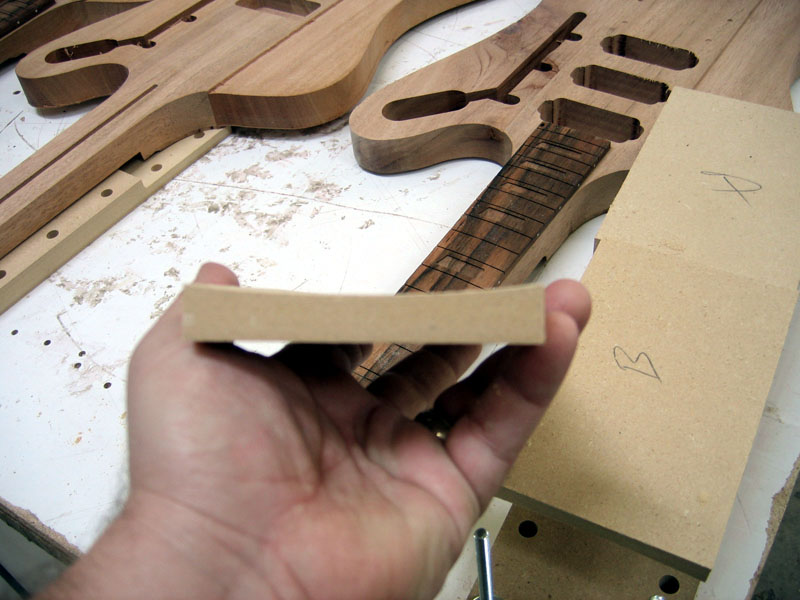
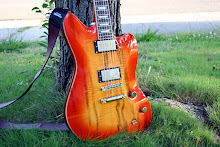
 Like I said, everyone brought their favorite necks in to compare. Of course, I brought my white firebird in for a reference. Dave (left) and Danny are comparing necks and the way I did my heel.
 Dave would get mad if I didn't post his cool stop action belt sander picture...
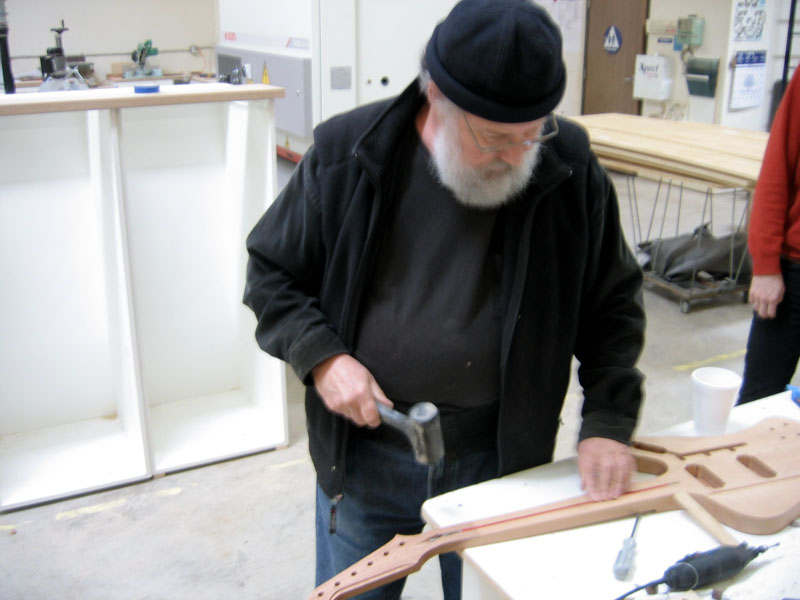
 After shaping the neck Steve took over to form the heel.

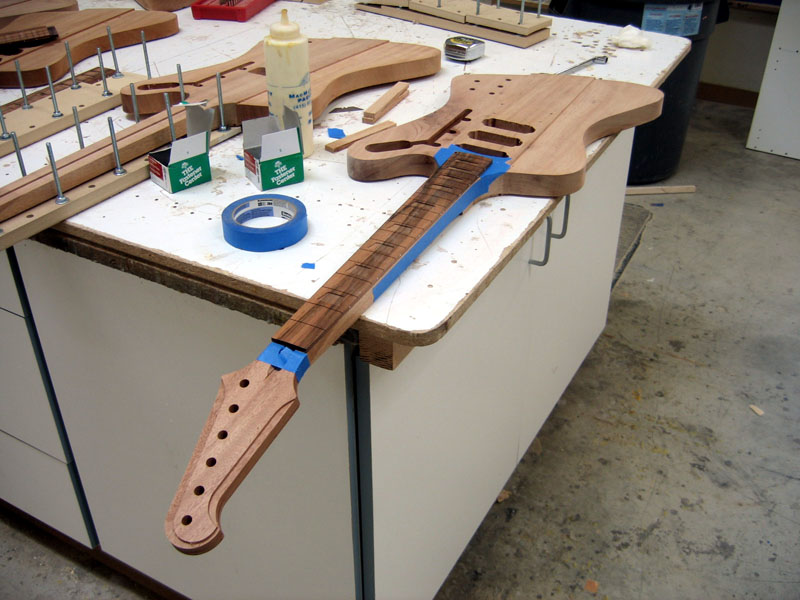
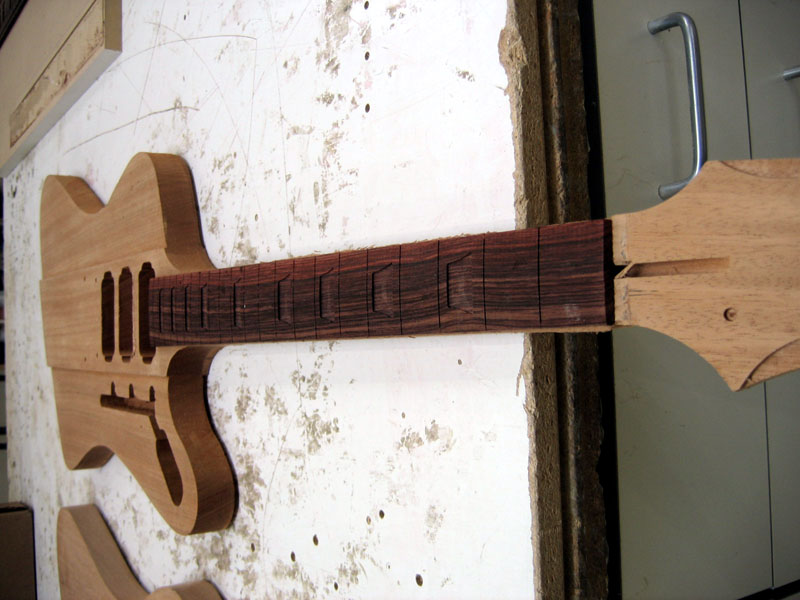
 Finished product!
 Danny and I comparing profiles and thickness'
 Starting another one.
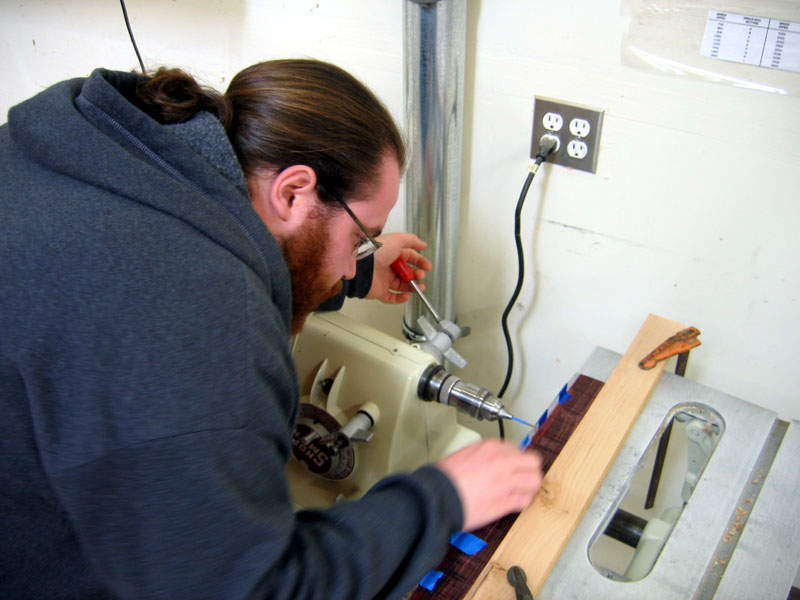
 Danny doing some work shaping the heels
 PILE OF SAWDUST!
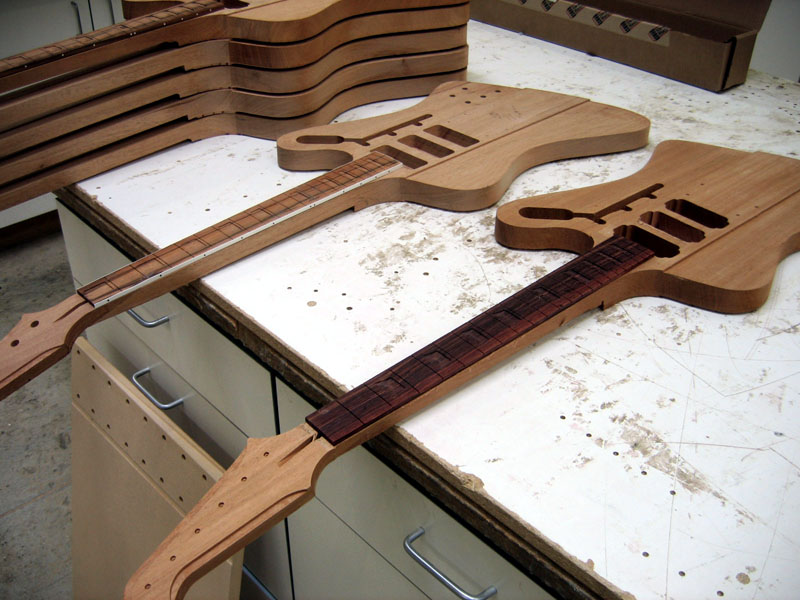
 There we go. Got 5 of the 8 shaped today!
 First I had to build a rack to hold all these finally... was a fun side project. I probably way over built it but I ALWAYS do.
 Since we already back cut the necks to the general thickness I grabbed the trusty microplane attachments. They are like cheese graters that hook on our palm sanders. They work great for roughing in the neck profile.
 Here I am starting to rough one in.
 Like I said, everyone brought their favorite necks in to compare. Of course, I brought my white firebird in for a reference. Dave (left) and Danny are comparing necks and the way I did my heel.
 Dave would get mad if I didn't post his cool stop action belt sander picture...
 After shaping the neck Steve took over to form the heel.
 Finished product!
 Danny and I comparing profiles and thickness'
 Starting another one.
 Danny doing some work shaping the heels
 PILE OF SAWDUST!
 There we go. Got 5 of the 8 shaped today!